|
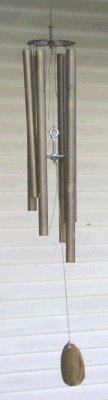
Wind chimes are arrangements of metal, glass, wood, shell, pottery etc., that produce sound when the wind blows past them. They can range in size from a few inches to several feet and retail from a few dollars to a several hundred dollars. A wind chime must be built with fairly tight clearances if it is to make sound in gentle breezes. Glass and pottery wind chimes must normally be hung where they will be protected from strong winds which will break the glass and pottery elements. The sound of a chime depends on the material, the thickness of the material, the length of the tubes or items, and the material of the striker. Note that it is possible to make a wind chime without a striker, but it typically doesn't work very well because all the elements swing together instead of striking. An exception is when multiple flat or slightly curved pieces, such as seashells are placed close together so they spin or oscillate enough to strike those near by. 2006-03-14 |
 |
|
Terminology |
|
|
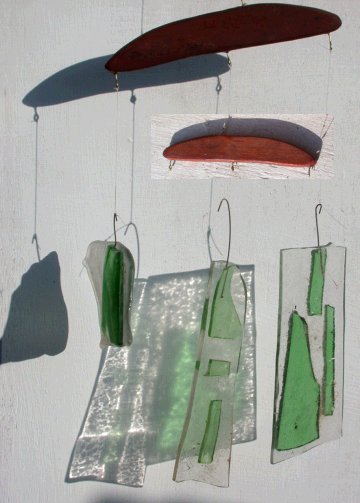
Any attempt to make wind chimes should begin with testing the sound made by the materials for quality and quantity. A first test can be using a paper clip or pliers to hold the piece while it is rapped with material like the planned striker(s). A further test taking a bit of time is to use clear household glue to attach a piece of thread (letting it dry) so it will hang freely and the sound be more clearly heard. When I made miniature, three element wind chimes from colored glass, I fused a hook into each one and hung them from thread loops to test their sound together - if acceptable, the final threads were knotted and glued. Wind chimes do not have to make musical ringing tone sounds. Bamboo as tubes or splits and sea shells hung closely together are used to make a percussion sound with more or less musical tone to it - I saw some in a Big Lots the other day. In a very quiet environment, something that looks like a wind chime but with paper or other light soft elements can provide a visual variety and some sound of very soothing quality. Metal tube wind chimes can be built of a number of materials using the rules given in the table below. Some materials and even some alloys of materials are dull and will not produce a reasonable sound. Any tube of the same length, supported at the same point, will produce the same note, but as a trumpet and clarinet can produce the same note with a considerably different tone, the tone will vary depending on material and striking method. Brass and aluminum are the most commonly used, steel making a very heavy chime. Metal tubes make a considerably different initial sound when struck by a metal clapper compared to a wood clapper and different woods - harder and softer - with different shapes - square or round edged - will also produce different sounds. |
|
|
|
|
|
|
|
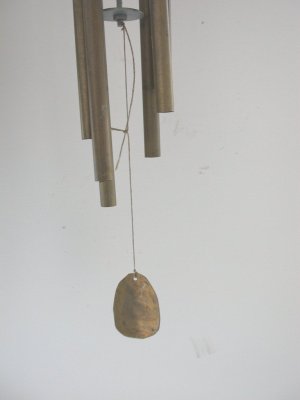
 This
is an example of a
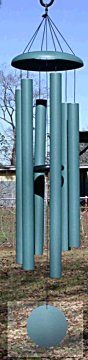
This
is an example of a 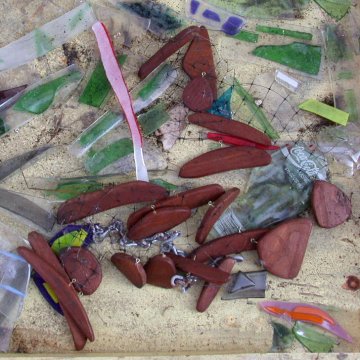
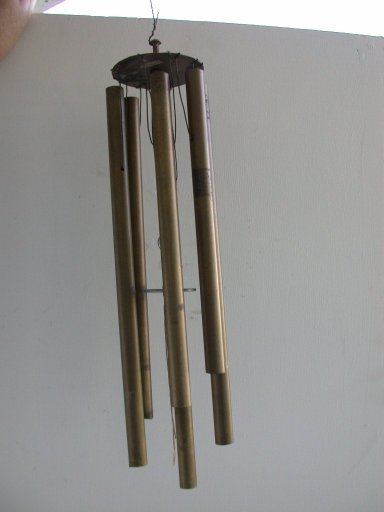
 My
mother-in-law was given a set of
My
mother-in-law was given a set of 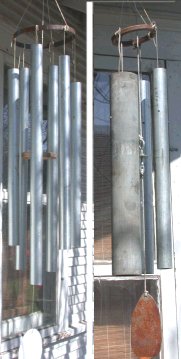 past the rod, then the
tube was rolled over and inverted so the nut fell back taking the cord around
the rod. Holding both ends of the cord pulled tight to curve the rod
upward in the tube, a hammer was used with the end of the rod on a vice to peen
the ends, bowing the rod somewhat more and widening the ends. When done,
the nut was taken off the cord, a stopper knot tied in the end, and a slip knot
added to tighten on the rod by pulling.
past the rod, then the
tube was rolled over and inverted so the nut fell back taking the cord around
the rod. Holding both ends of the cord pulled tight to curve the rod
upward in the tube, a hammer was used with the end of the rod on a vice to peen
the ends, bowing the rod somewhat more and widening the ends. When done,
the nut was taken off the cord, a stopper knot tied in the end, and a slip knot
added to tighten on the rod by pulling. 