|
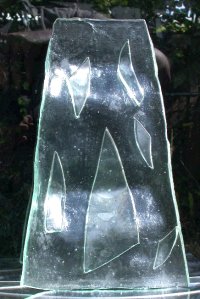
More than one oven or a really big one? - I have been
working on making several one foot long curved blades for
whirlies and have had to deal with the time
delays of having just one annealer/kiln/oven, so I have to take the time to run
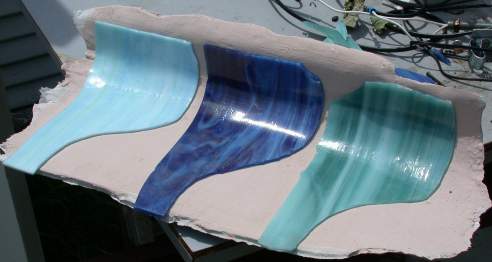
a sheet and mold up, then down, then anneal. One solution would be to make
a big flat sagging/fusing kiln with lots of insulation, but I don't really have
a use for it. An alternative is to have two controlled kilns. By
taking all the sheets I want to sag up to the annealing point in one kiln, I
could then transfer them one at a time to the mold in another kiln, run that up
to 1300 or so, cool it to about the annealing point, move the stiffened glass to
the holding kiln and then continue until time for slow annealing. By
stacking or edging, a lot more glass could be gotten in the annealing oven than
in the openness of the mold kiln. 2004-08-21
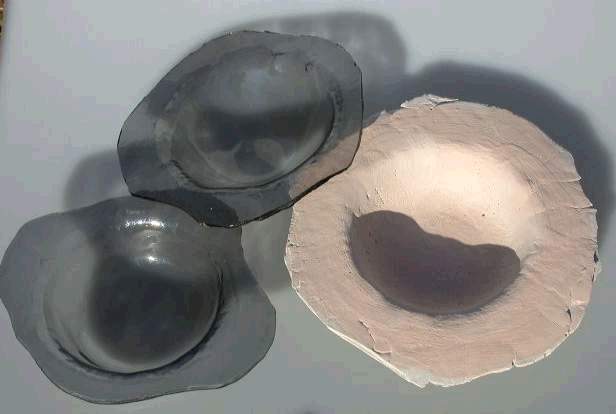
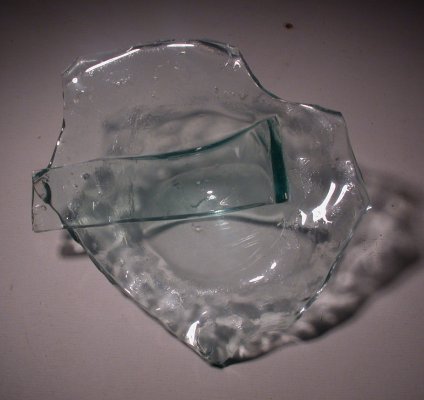
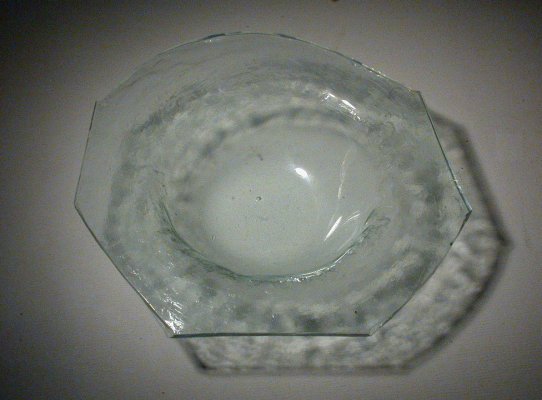
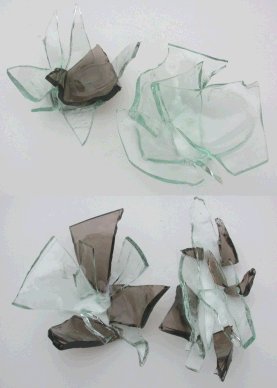
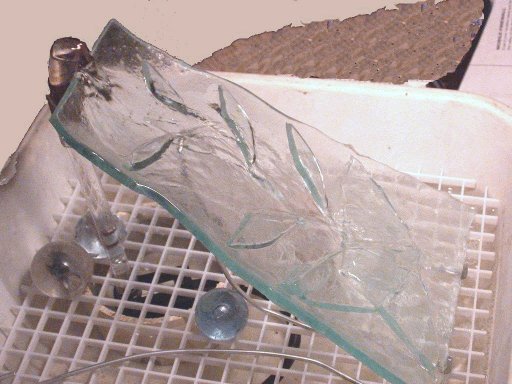
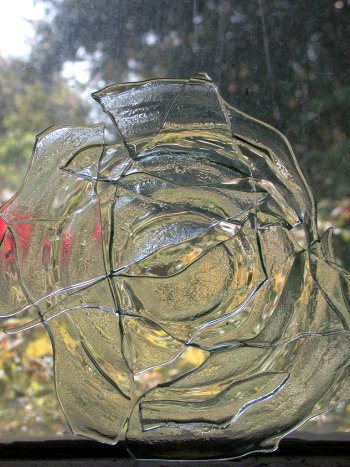
I have often collected glass from
curbside, usually thicker pieces of broken table tops that make up the fused
stuff above. Over the last several months, I have
collected tempered glass from some doors that were put out at the curb intact
and broke before pickup and just recently thin window glass that apparently fell
off a vehicle on to the median and then was driven over, perhaps by the vehicle
that it fell from.
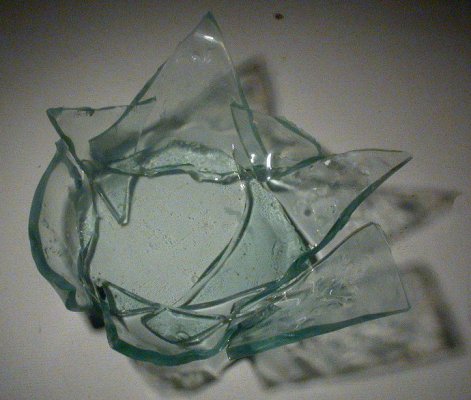
 When
glass is picked up from the curb, it is usually dirty and may have stones and
grass in it. The broken window glass was many different sizes and, in
fact, what sent me back to pick it up was the hundreds of middle sized random
pieces. I needed to sort by size and get rid of all of the small dirt and
glass. I had a couple of failed attempts for experience. When
glass is picked up from the curb, it is usually dirty and may have stones and
grass in it. The broken window glass was many different sizes and, in
fact, what sent me back to pick it up was the hundreds of middle sized random
pieces. I needed to sort by size and get rid of all of the small dirt and
glass. I had a couple of failed attempts for experience.
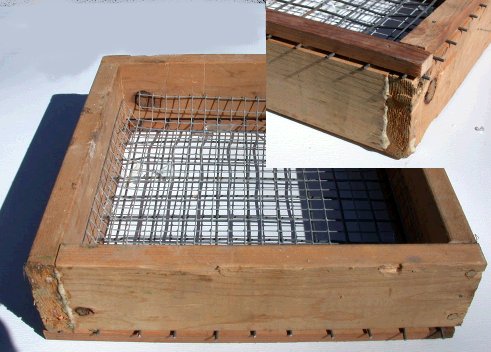
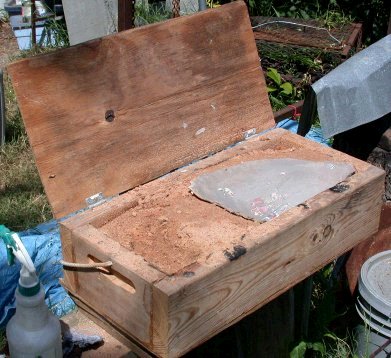
The frame at the right has 1" hardware cloth (welded wire
screen) held in place by wooden strips. The wood strips are lightly nailed
but are really held by Gorilla Glue.
The corner joints were drilled and dowelled with GG also. GG expands while
setting to form a water proof bond which can be seen at the corners and which I
wanted to take advantage of between the wire. Inside the box is an added
1/2" hardware cloth piece held in place by the bent up edges. After the
first sort through the 1", added grids of other sizes can be inserted for
smaller sorting. I have a similar box with smaller screen (1/4") as the
primary with thinner wood strips, that is used for sifting casting sand of metal
bits.
My previous failures taught me three things: Don't get too
big and have bigger catch trays and have several. The box above is 11"x11"
(55mm x 55mm) and is one of the module sizes in my storage system.
Previously I had built a metal box 12x24 (30x60) which is another module.
This was too big to handle with a moderate amount of glass in it and when
shaken, it dropped glass over the sides of the catch boxes. For this
11" box, I have been using 12"x 18" cafeteria-style trays, of which I have
several. Having several, or at least two, is necessary because after the first
sort, and emptying the frame of larger stuff, it is much easier to put a second
tray below the frame, add the smaller screen, and pour the smaller stuff off the
first without trying to hold it in a bucket or something. I also found it
easier to knock all the sorted glass out of the frame onto a tray (which has
sloping edges) then from the tray put it in storage (ZipLoc freezer bags.)
With the thickness of the wood frame, the stuff is dropping from an opening
10.25" square which allows shaking to work the glass. By the way, making
it of wood means no lower lip, which caught glass and trash in the metal box.
For cleaning, I built a bucket out of 1/4" hardware cloth (no
picture yet) that I can slosh up and down in a 5 gallon bucket to wash.
|
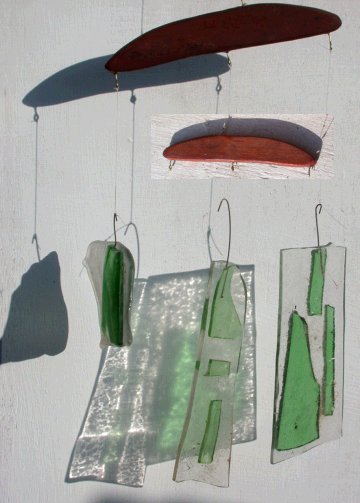
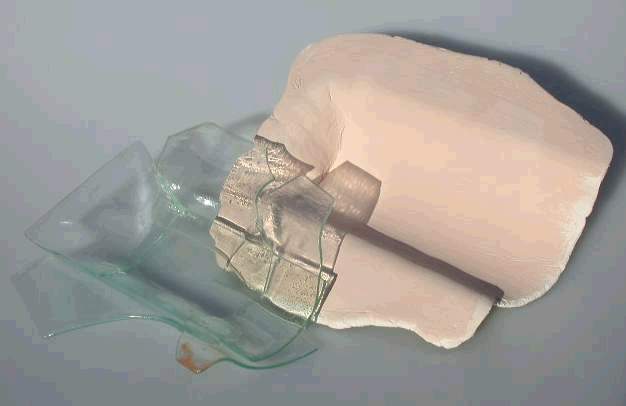

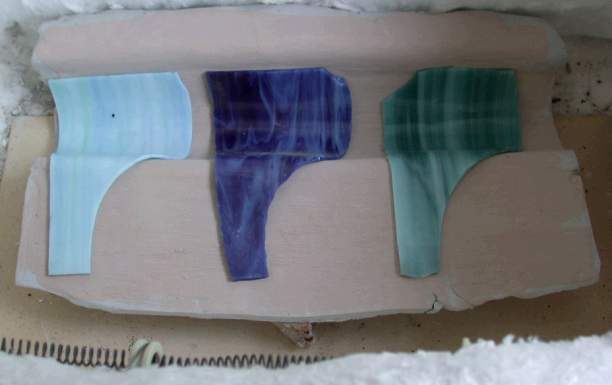

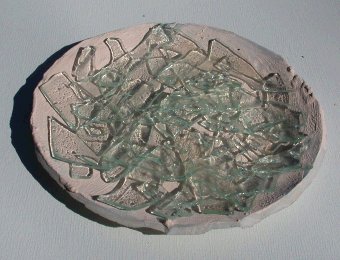
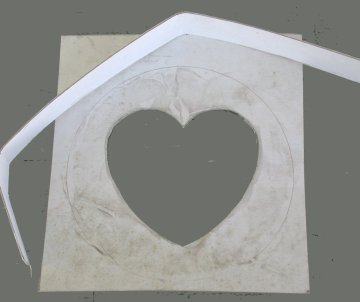
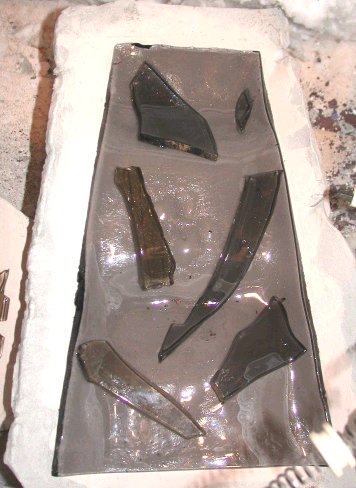
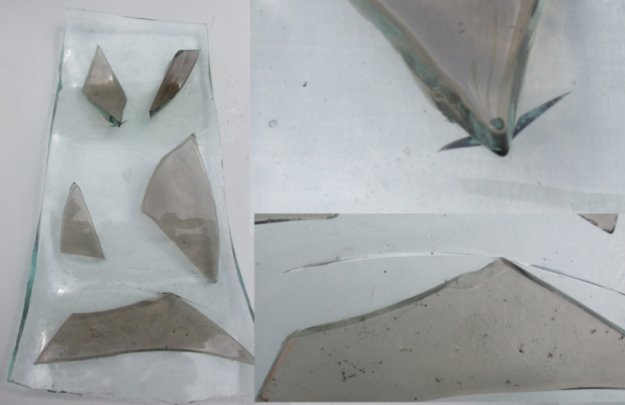
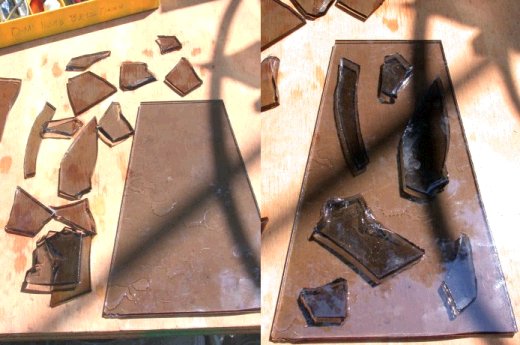 On
a light colored flat 3/4" plywood board covering a rough workbench, the cut
panel and a selection of fragments have been laid out. All have been
washed. I have dark fragments in two colors, so selection must be
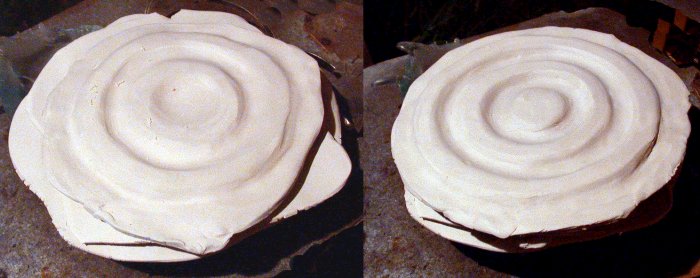
made. Various arrangements are tried. Generally I use a couple
of long pieces to trend the water toward the center (the mold has sloping
sides also) and smaller pieces to break up the flow. A medium piece
partly diverts the center flow as some flows over it. 2007-09-22
On
a light colored flat 3/4" plywood board covering a rough workbench, the cut
panel and a selection of fragments have been laid out. All have been
washed. I have dark fragments in two colors, so selection must be
made. Various arrangements are tried. Generally I use a couple
of long pieces to trend the water toward the center (the mold has sloping
sides also) and smaller pieces to break up the flow. A medium piece
partly diverts the center flow as some flows over it. 2007-09-22


