|
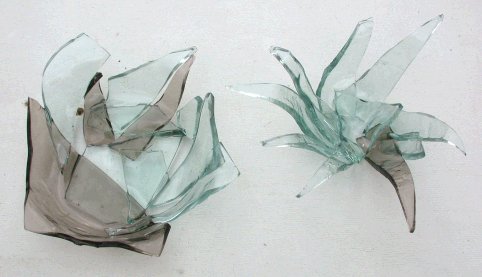
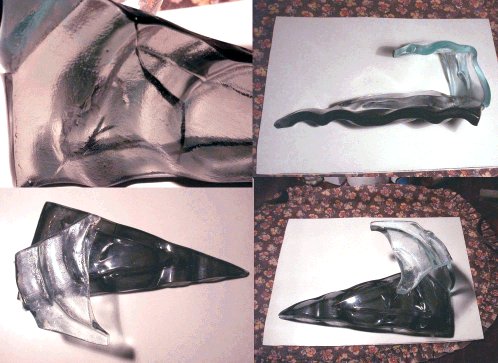
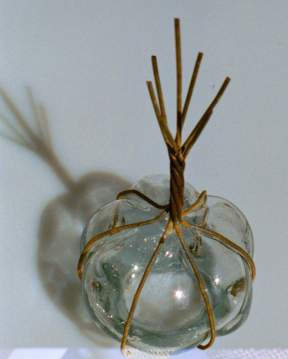
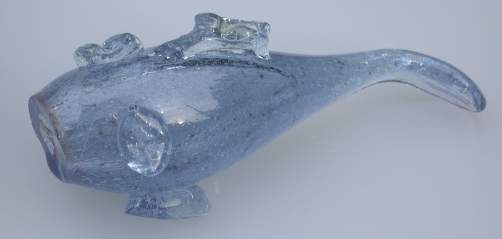
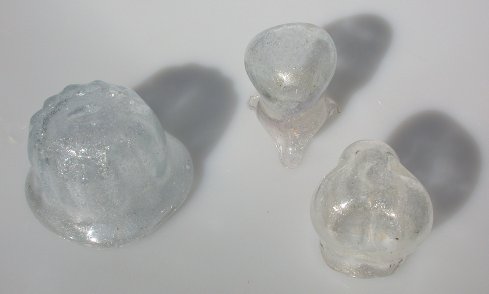
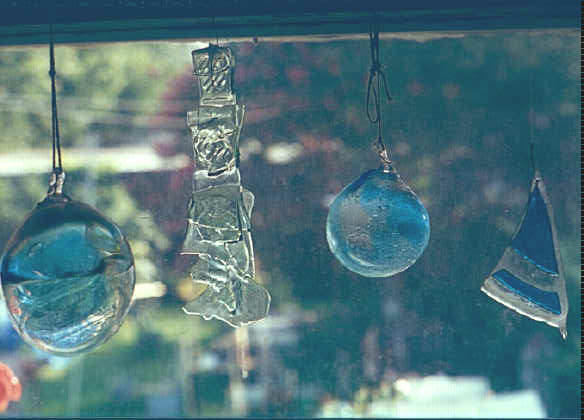 FUSED & BLOWN -
These four pieces hang from a board in the window over the
kitchen sink, visible the length of the house. Two of the pieces
are blown ornaments, not the best I did, since those went to
friends and relatives, although the left one is kept as an
interesting event since it has a partition across the middle. The
one on the right is just a curved fused piece done on a curved
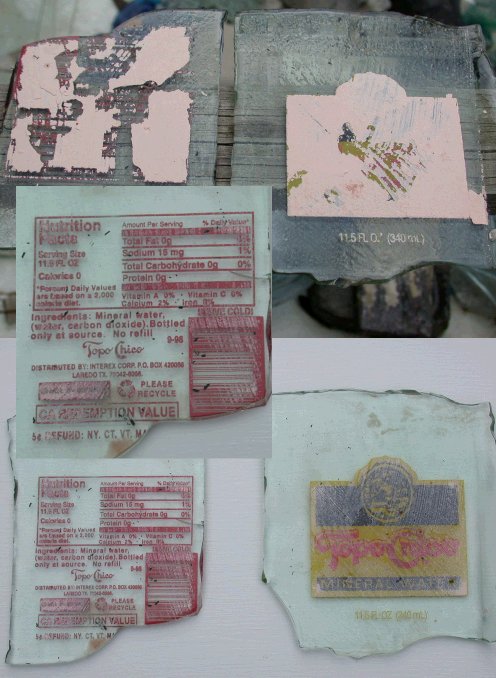
clay mold. The green piece is an example when I was cutting apart
Coke bottles, rearranging the pieces and fusing them into clay
molds, this one done into clay molded on a petite cookie sheet. I
sold the ones that had words from the Coke labels. To avoid
putting a lot of holes in the window frame, I put just two hooks
there and then hung a board flat from them, installing small link
chain across the board so I could hang many pieces in various
places. All of these were made fairly early, 1991-92 etc. FUSED & BLOWN -
These four pieces hang from a board in the window over the
kitchen sink, visible the length of the house. Two of the pieces
are blown ornaments, not the best I did, since those went to
friends and relatives, although the left one is kept as an
interesting event since it has a partition across the middle. The
one on the right is just a curved fused piece done on a curved
clay mold. The green piece is an example when I was cutting apart
Coke bottles, rearranging the pieces and fusing them into clay
molds, this one done into clay molded on a petite cookie sheet. I
sold the ones that had words from the Coke labels. To avoid
putting a lot of holes in the window frame, I put just two hooks
there and then hung a board flat from them, installing small link
chain across the board so I could hang many pieces in various
places. All of these were made fairly early, 1991-92 etc.
|
|
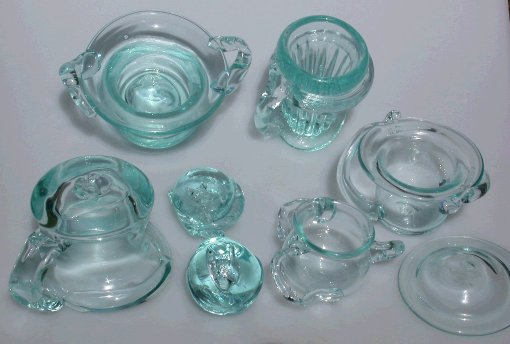
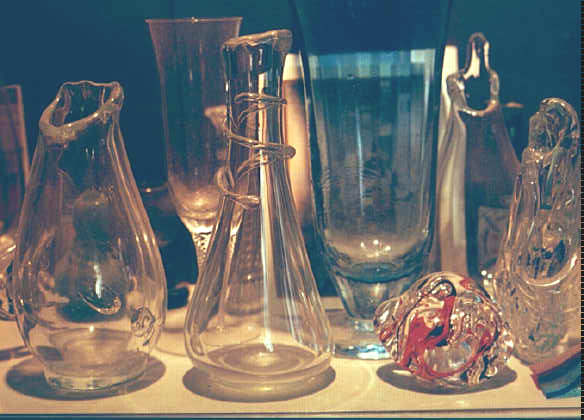 VASES &
PAPERWEIGHT - The mantle of the false fireplace in my living
room has a bunch of glass, some of it Steuben Crystal from the 50's,
some of it gifts (the blue in the center of the picture is the
base of one) and some of it my own. A timer turns on a small
halogen flood light each night and morning to make it more
enjoyable. The piece in the center front represents what I like
in glass I make: good clear glass with a decoration that is both
visual and tactile. The piece behind the red one is the first
good piece I made casually - I call it a Shmoo vase after the Al
Capp characters and it has three nice little feet, is fairly
thin, and declares "I was hot." The two pieces to the
right are "weights" made from OPC (Other People's Color)
where I take fragments of broken pieces and work the color. The
piece to the right is very upright and looks mostly like frozen
melted glass. The red piece was "air marvered" (dipped
in glass and maneuvered without touching it) and glows with
astonishing brightness. The piece to the left has flat bubbles
worked into the skin. All the glass shown was worked from Spruce
Pine Batch. (Made in 1990-91, except for the weight, about 96) VASES &
PAPERWEIGHT - The mantle of the false fireplace in my living
room has a bunch of glass, some of it Steuben Crystal from the 50's,
some of it gifts (the blue in the center of the picture is the
base of one) and some of it my own. A timer turns on a small
halogen flood light each night and morning to make it more
enjoyable. The piece in the center front represents what I like
in glass I make: good clear glass with a decoration that is both
visual and tactile. The piece behind the red one is the first
good piece I made casually - I call it a Shmoo vase after the Al
Capp characters and it has three nice little feet, is fairly
thin, and declares "I was hot." The two pieces to the
right are "weights" made from OPC (Other People's Color)
where I take fragments of broken pieces and work the color. The
piece to the right is very upright and looks mostly like frozen
melted glass. The red piece was "air marvered" (dipped
in glass and maneuvered without touching it) and glows with
astonishing brightness. The piece to the left has flat bubbles
worked into the skin. All the glass shown was worked from Spruce
Pine Batch. (Made in 1990-91, except for the weight, about 96)
Whirly Jig information now
has its own page
|
|
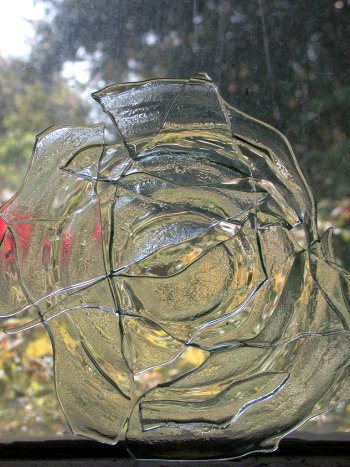
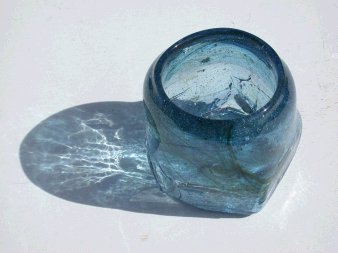
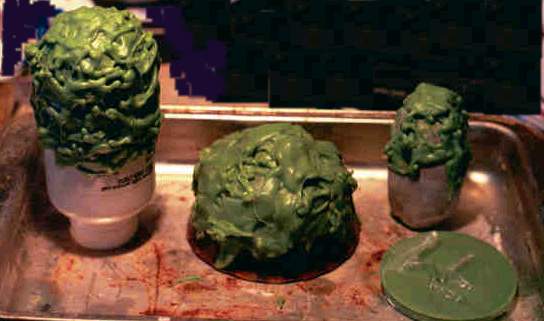
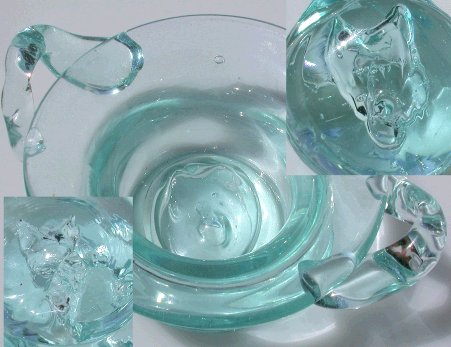
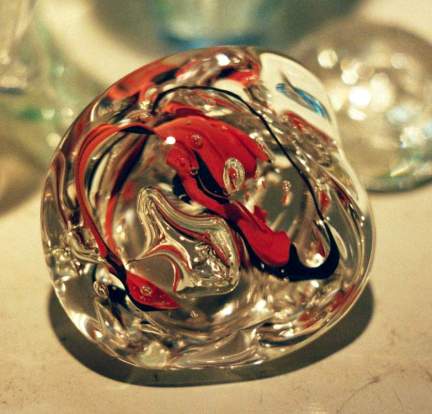 This is a much better (and
bigger, click for larger) shot of the paperweight in the mantle
image above. It even captures some of the bright light quality of
the piece. Some of my favorite weights have been made this way -
air marvered - that is, not touched by paper or block after the
last gather, but turned on the punty as they cool to give an
undulating surface that plays a lot with light. Some end up as
mushroom shapes. This one has irregular air bubbles and red and
black color twists. All were created by picking up some broken
color scraps, adding some clear batch and inserting tweezers to
twist the color and make spaces for the bubbles. This is a much better (and
bigger, click for larger) shot of the paperweight in the mantle
image above. It even captures some of the bright light quality of
the piece. Some of my favorite weights have been made this way -
air marvered - that is, not touched by paper or block after the
last gather, but turned on the punty as they cool to give an
undulating surface that plays a lot with light. Some end up as
mushroom shapes. This one has irregular air bubbles and red and
black color twists. All were created by picking up some broken
color scraps, adding some clear batch and inserting tweezers to
twist the color and make spaces for the bubbles.
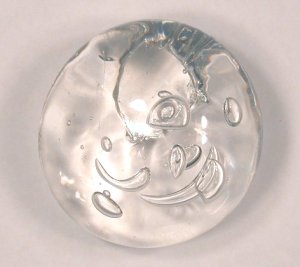
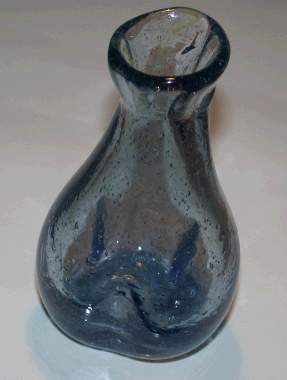
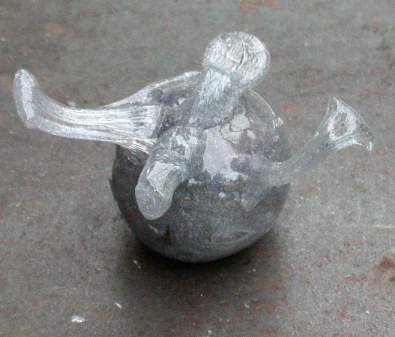
Below is a clear item, roughly made.
|
|
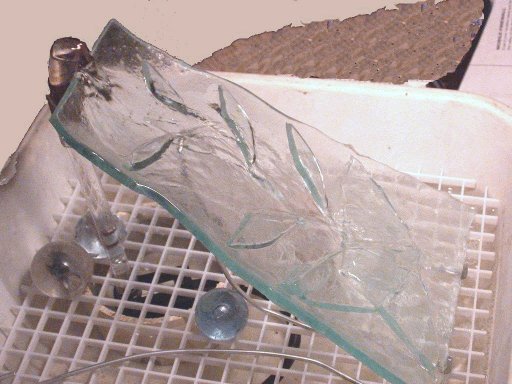
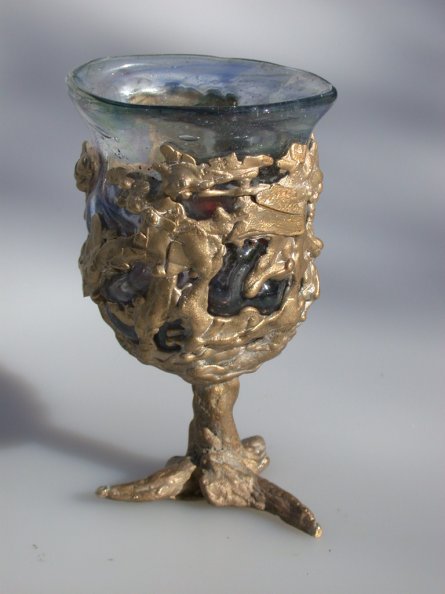
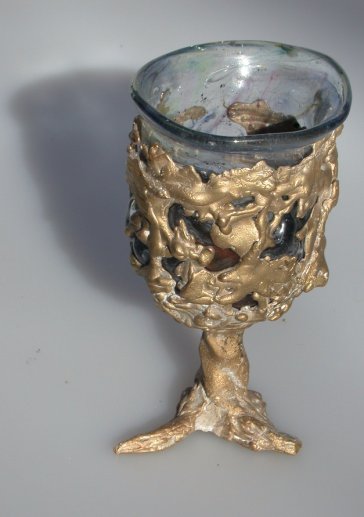
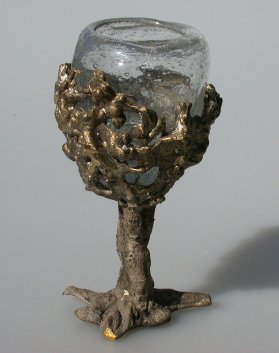
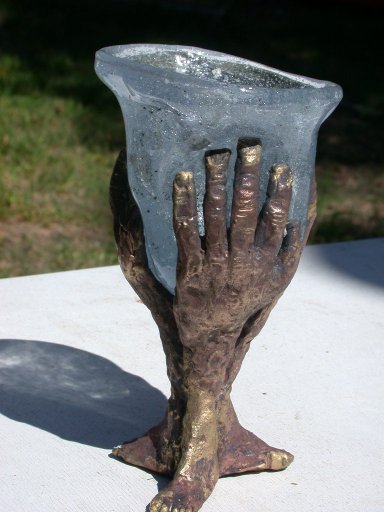
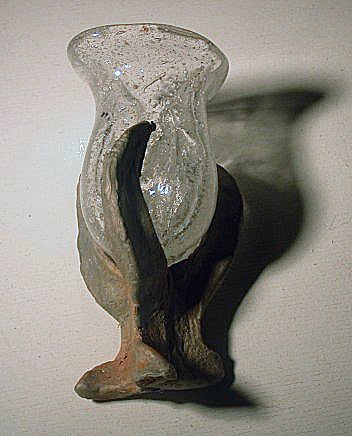
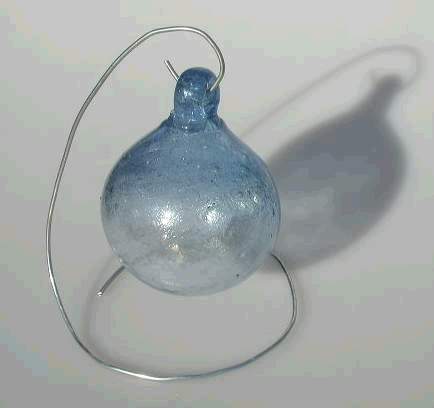
This 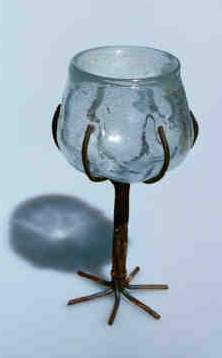 is the first great piece I have planned and made in my
backyard setup. I really like it as a starting point for future
work. As a gauge of the size, the wire is 3/16" inch and the
height of the piece is 8.5" (21.6 cm), so it is a very hefty
goblet - it holds about 20 oz up to the base of the flare of the
lip. For me, it also is a triumph because, as planned, it was
worked at the glory hole after blowing. To do this, I made a
special punty, shown below. Although it isn't talked up a lot,
exploring pictures of old glass workers shows that many special
punties were made - I have seen padded cones that fit inside
vases for working the foot, pronged units for holding the foot on
small goblets and a padded tube for holding bottles for neck work. is the first great piece I have planned and made in my
backyard setup. I really like it as a starting point for future
work. As a gauge of the size, the wire is 3/16" inch and the
height of the piece is 8.5" (21.6 cm), so it is a very hefty
goblet - it holds about 20 oz up to the base of the flare of the
lip. For me, it also is a triumph because, as planned, it was
worked at the glory hole after blowing. To do this, I made a
special punty, shown below. Although it isn't talked up a lot,
exploring pictures of old glass workers shows that many special
punties were made - I have seen padded cones that fit inside
vases for working the foot, pronged units for holding the foot on
small goblets and a padded tube for holding bottles for neck work.
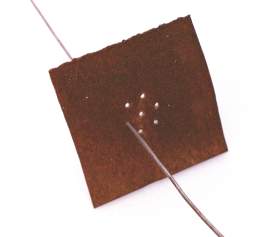 Wire plate for twisting smaller wire
into rope. Wire plate for twisting smaller wire
into rope.
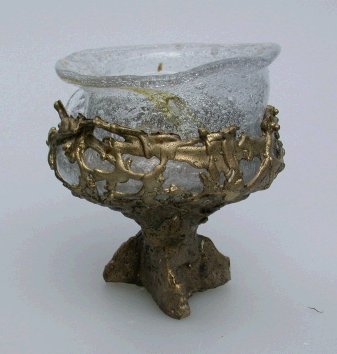
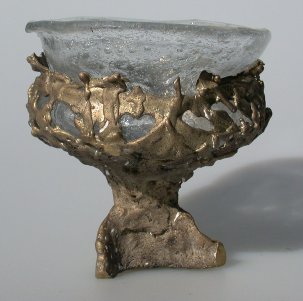
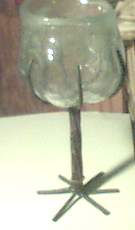
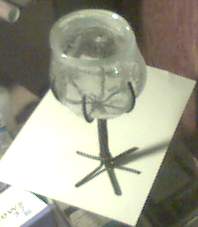
 Third blown
wire goblet, attempted with smaller wire and not bending foot out
to final form, not a good idea, wobbled too much, needed smaller
center hole and spread of feet. As with wire rope, braised with
brass to hold twist together. Third blown
wire goblet, attempted with smaller wire and not bending foot out
to final form, not a good idea, wobbled too much, needed smaller
center hole and spread of feet. As with wire rope, braised with
brass to hold twist together.
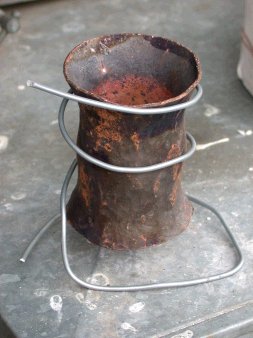
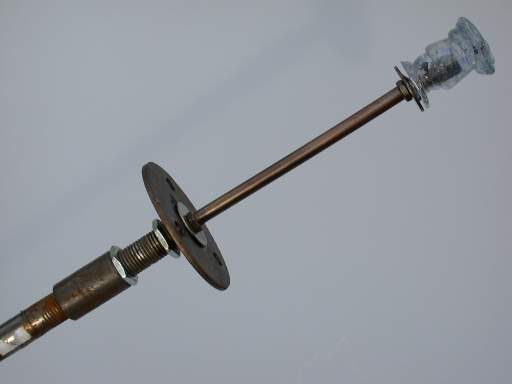
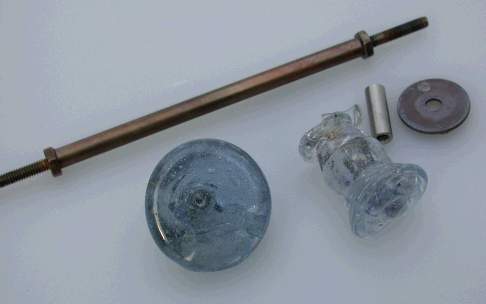
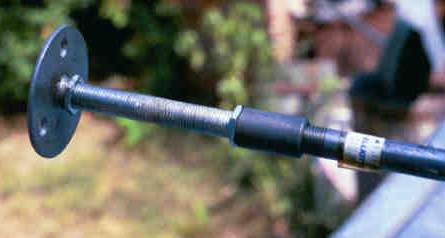 This punty is fitted to the end of 1/4" standard
pipe size (just over 1/2" true outside diameter) already
threaded from the store. A connector, threaded all the way
through, leads to an all thread nipple used in lamp making (the
standard, more common, stuff is 1/8" IPS, about 3/8" OD.)
The jam nuts also come from lamp supplies. The plate at the end
is a plumbing floor flange, in this case not a common cast unit,
which should work, but a stamped metal disk, punched through the
center and tapped through inside, which allows turning it down
the all thread if I wish. Having used it once, it needs another
set of jam nuts, these work loose. This punty is fitted to the end of 1/4" standard
pipe size (just over 1/2" true outside diameter) already
threaded from the store. A connector, threaded all the way
through, leads to an all thread nipple used in lamp making (the
standard, more common, stuff is 1/8" IPS, about 3/8" OD.)
The jam nuts also come from lamp supplies. The plate at the end
is a plumbing floor flange, in this case not a common cast unit,
which should work, but a stamped metal disk, punched through the
center and tapped through inside, which allows turning it down
the all thread if I wish. Having used it once, it needs another
set of jam nuts, these work loose.
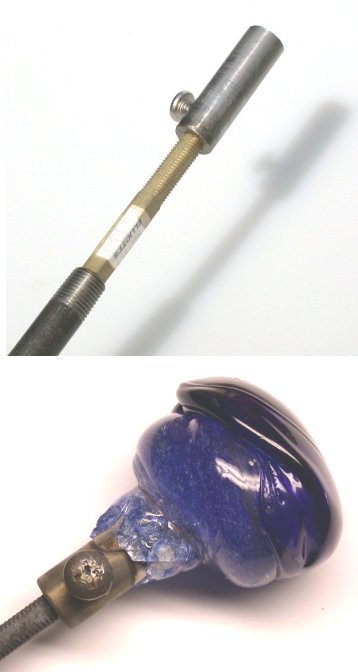
Not shown is a hole drilled at an angle toward
the end, so a wire can be looped over the leg of a goblet base
and run down the length of the pipe for a quick release or
connection to a threaded rod to pull it tight. As it happens, for
the piece above, I just twisted a short length of wire through
the hole and around one leg, cutting it free with diagonal
cutters before annealing.
Also not shown is the outer end which has been braised in and
drilled to only 3/16" (4.76 mm) to center the wire.
|
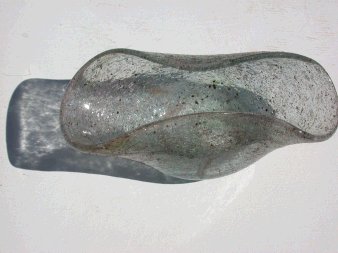
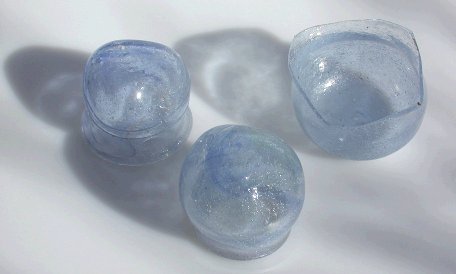
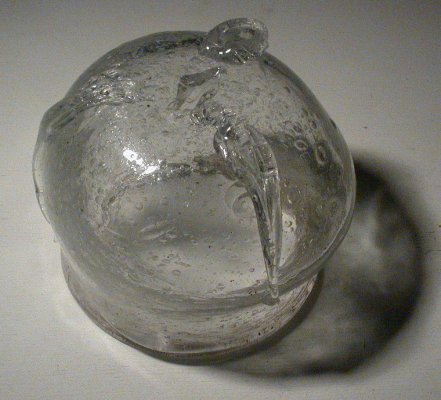
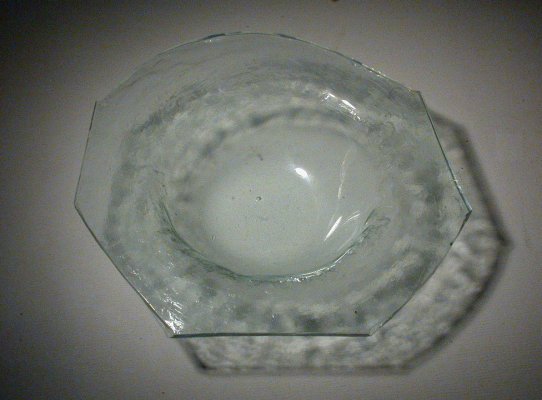
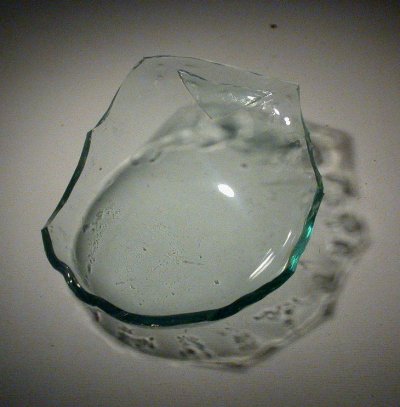
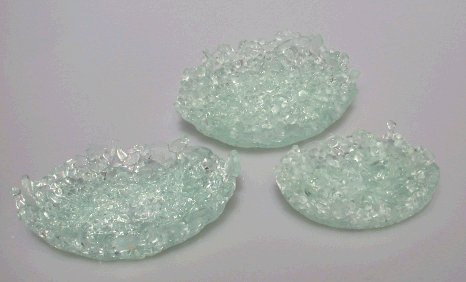
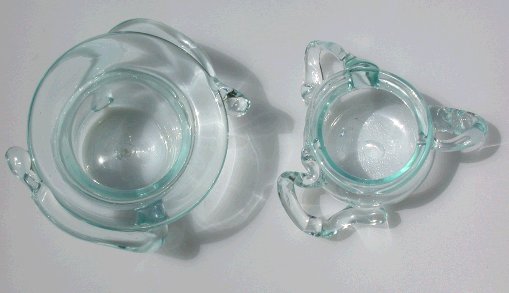
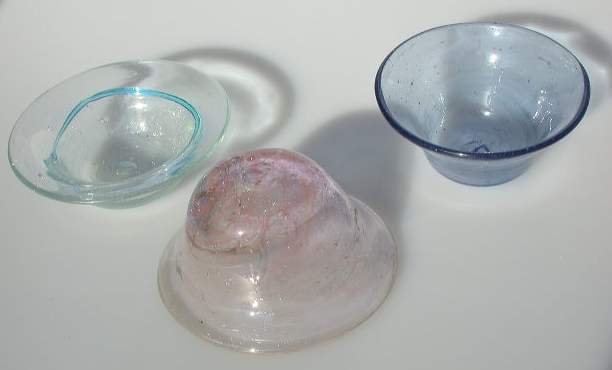 These bowls were blown over several sessions.
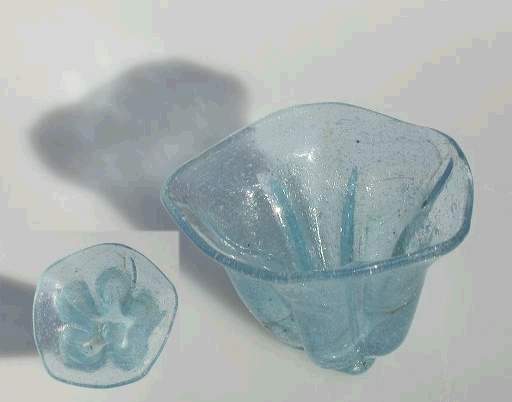 This is a 5 lobe piece made in the rod optic, top
view shown in the inset. The piece was trimmed before working the
lip. It was blown later in the same session as the cloudy piece
above. 2002-01-30
This is a 5 lobe piece made in the rod optic, top
view shown in the inset. The piece was trimmed before working the
lip. It was blown later in the same session as the cloudy piece
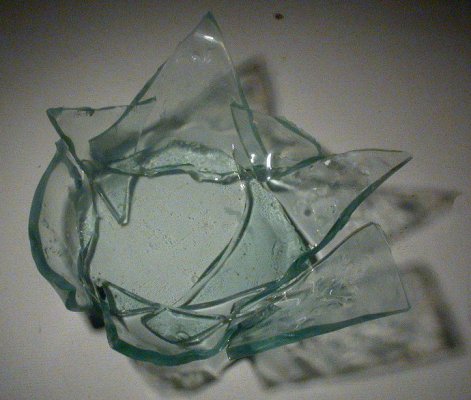
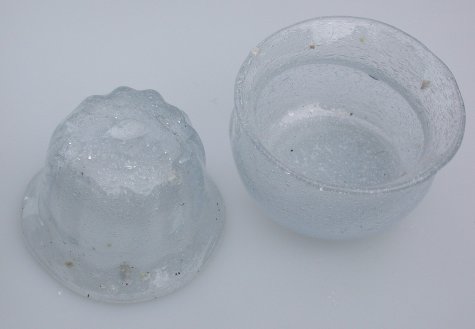
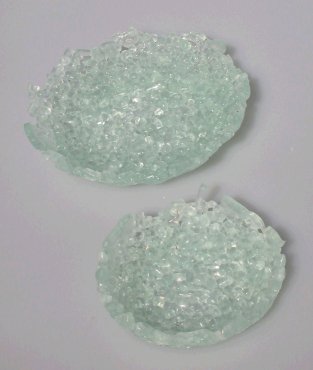
above. 2002-01-30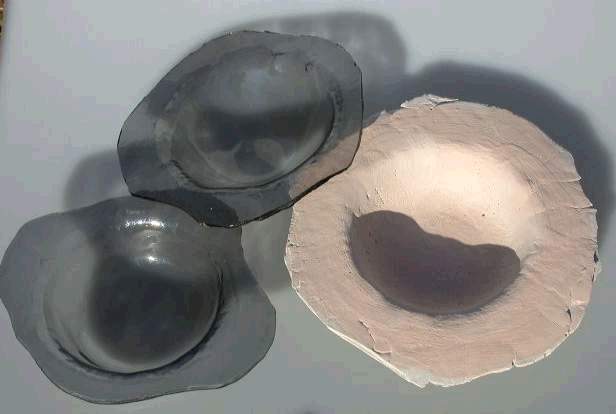 Two fused bowls made from roughly cut scalloped
edge blank. The bowls were made for the
Two fused bowls made from roughly cut scalloped
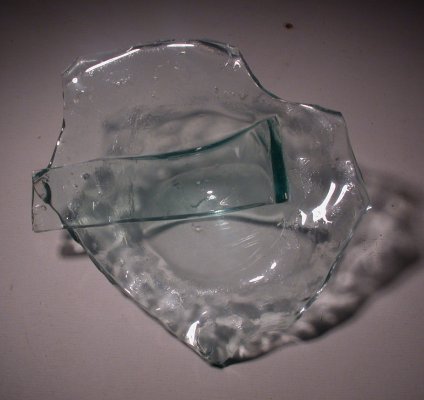
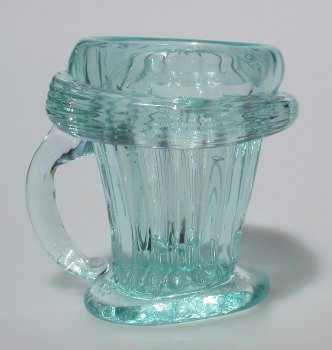
edge blank. The bowls were made for the 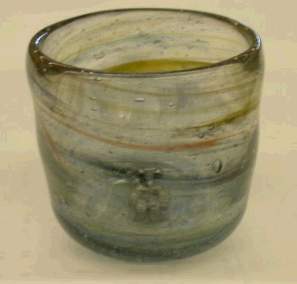 Attempt
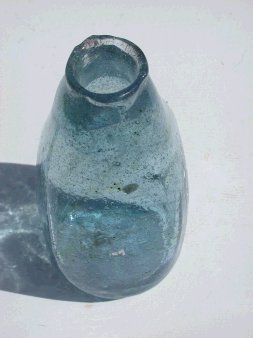
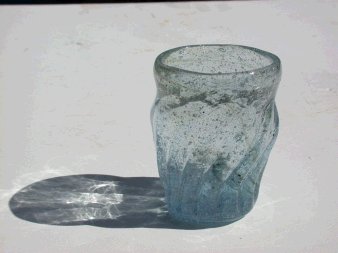
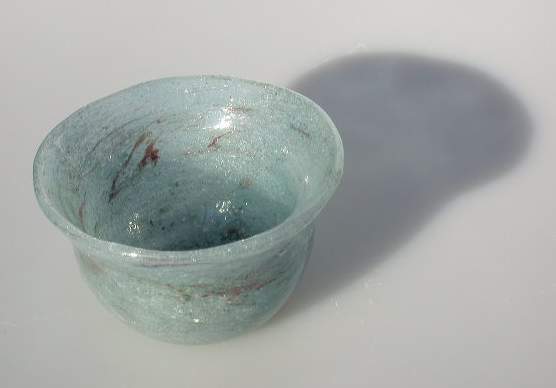
at glass tumbler from mixed cullet, early in run. Not square
enough bottom and not thin or tall enough, but a good clean
punty, usable out of the annealer. Photographed under fluorescent
light at work.
Attempt
at glass tumbler from mixed cullet, early in run. Not square
enough bottom and not thin or tall enough, but a good clean
punty, usable out of the annealer. Photographed under fluorescent
light at work.
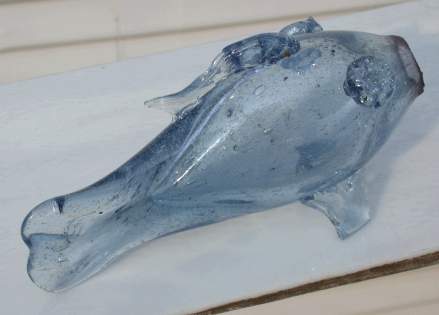
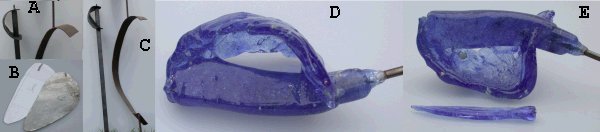 I
first forged a sword blade blank and a hand shield using the glory hole as a
heat source (A&C). This would serve as a backup and dummy for the glass
one.
I
first forged a sword blade blank and a hand shield using the glory hole as a
heat source (A&C). This would serve as a backup and dummy for the glass
one.