Step By Step
| | Three choices of wax form making. |
|
| Model is section of whole | Wax Model |
Drip or apply wax to core |
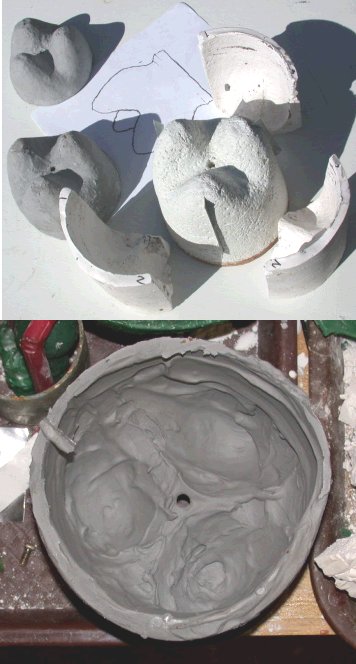
| Make or find interior model shape (wood, plaster, plastic)
for half/third/fourth build of core. | As shown, a plaster open mold can be used to pour a thin wax
shell for further working. | |
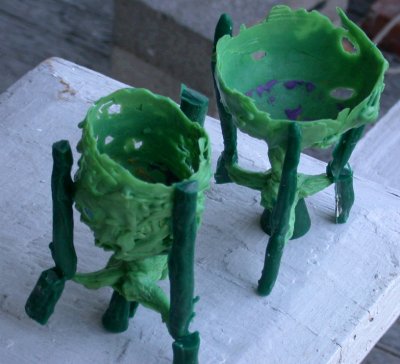
| Make fractional model in clay on core | Build a model entirely in wax |
Make a core on which to build wax |
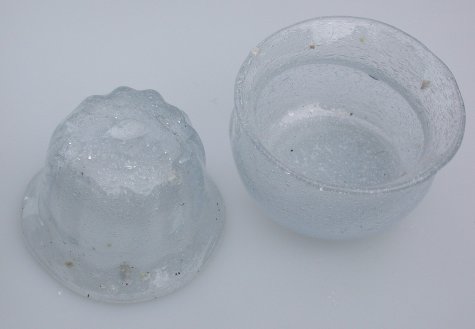
| Coat the model with many layers of latex. | Optionally, make latex mold to preserve for repeat wax |
Core may be solid wax shape, or investment core, or clay
slip shell core |
| Make a plaster backing to support the flexible latex mold in
proper shape (latex gives detail, plaster gives strength | |
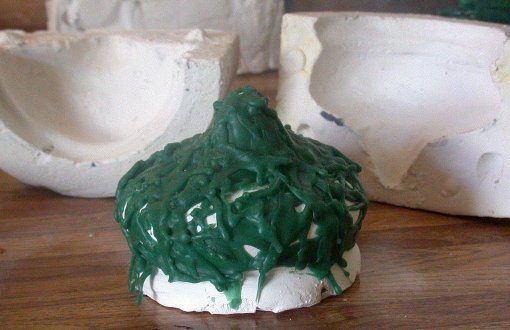
Add wax to core to build original. Dipping, dribbling,
welding add-ons. Cut away if that is useful. |
| If necessary, make a plaster core backing to permit pouring
wax in special shape between core and latex mold. May require reshaping clay
and latex against mold backing plaster if distorted when interior support is
removed. | |
|
| Remove latex from clay and clean up plaster. Let
plaster dry. | |
|
| Assemble plaster and latex parts and tie or rubber band
together. I use wide rubber bands cut lengthwise from blown bicycle
tires. | |
|
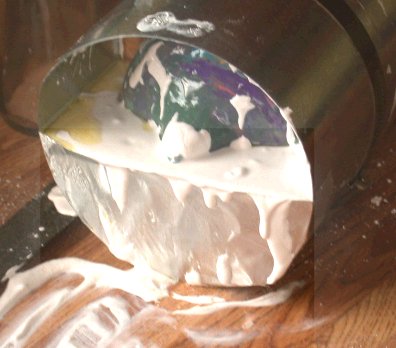
| Pour casting wax at as low a temperature as possible, to
reduce latex damage. Remove result. Repeat as needed for full
wax original. | |
|
| Heat weld parts into full wax original | |
|
| Clean the wax original and fix details | Clean the wax original and fix details |
Complete all details |
| | |
If fired clay slip, may add sand and water glass rigidizer
to take space. |
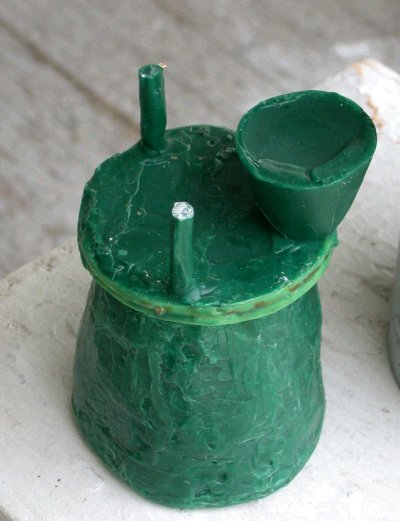
| Add sprues, riser and venting making
allowance for container size and metal and air flow. |
| Glue wax to heavy duty aluminum foil with
Marine Goop or weld to flat piece of wax larger than container. |
| Place container around model. Fold up foil
and tape to secure from leaks. |
| If stacked ring container, tape joint and
wire rings together firmly. |
| Mix and pour investment, filling from edge
with allowance for shape and to reduce bubbles. |
| Allow setting time. Remove tape, foil,
and
any Goop on investment, tighten adjustable band if used. |
| Remove additional investment around pouring
hole if needed. |
| Arrange bread pans with water and wire grid
to support containers and heat upside down to drain wax. Heat to 220F
(105C) first, then to 240F (115C) if needed. Check for drain of wax in
pan and in investment. Remove drain pans and return to upright.
Tighten expandable bands. Clean out fill hole if needed. |
| Run burnout cycle, venting kiln to remove wax
fumes and moisture. Lower to casting temperature and hold. |
Fire up metal melting furnace, preloading
some metal and adding flux or antioxidant suitable to metal.
Add additional metal if needed. |
| Prepare sand bed to receive containers
(flasks). Clear path for moving flasks and molten metal. |
| Don protective gear. Turn on hose. |
When metal is to temp, move flask to sand bed
and level.
Open furnace and lift crucible to sand bed in pouring ring.
Break flux clear to pour.
Lift crucible and pour briskly to fill mold.
Set crucible down, clear pouring ring, return crucible to furnace and close
furnace. |
Allow flask to cool as required by metal.
Add metal to furnace to start further melting
or pour off excess metal in sand ingot mold and cool in shutdown furnace |
Lift flask into water bucket when appropriate
to boil off investment.
Slosh as needed to aid cooling and boiling.
Monitor next casting as flask cools |
Remove flask to cleaning area and use blast
nozzle on hose to strip investment.
Remove flask shell and continue cleaning of investment. |
| Examine casting and begin removing flash,
vents and sprues |
| Continue cleaning to final, doing repairs if
needed. |
| 2007-12-06, -08-02
Top
|
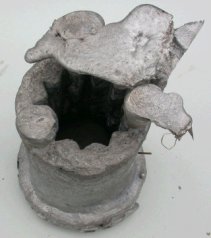
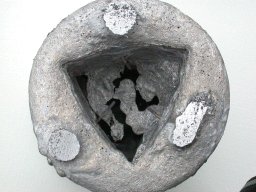
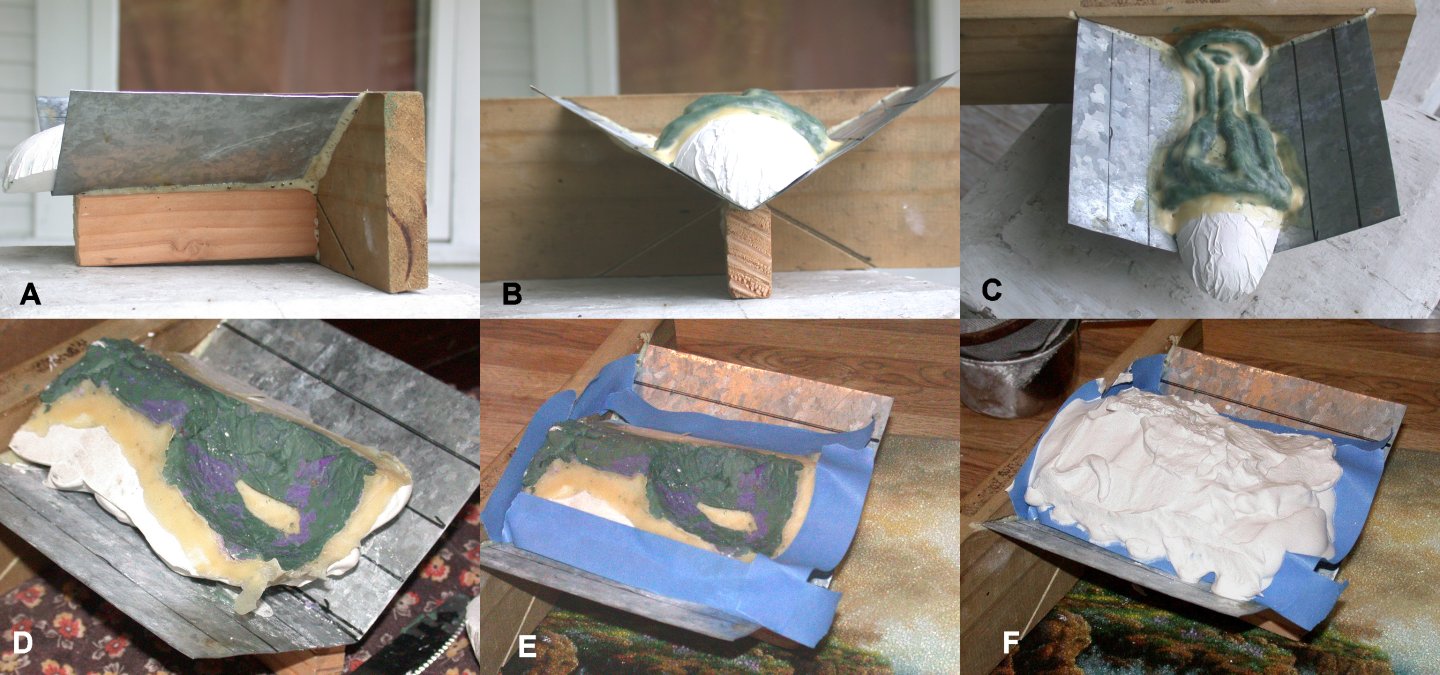
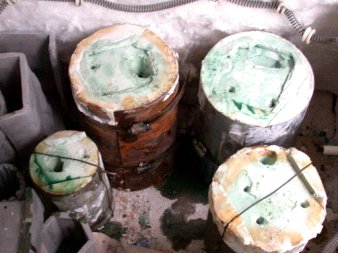
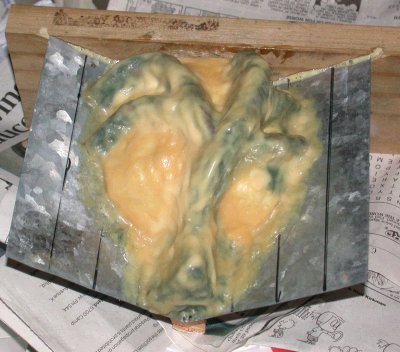
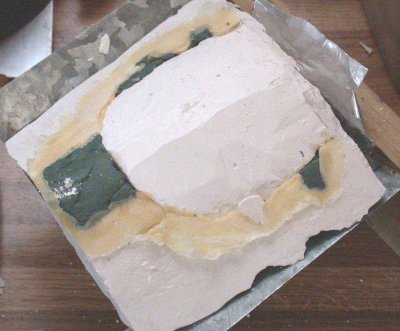
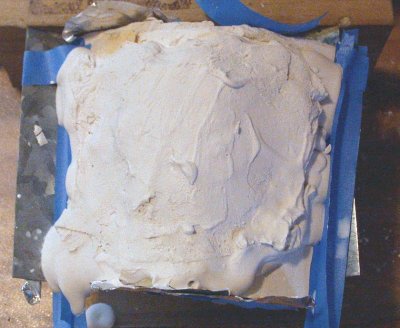
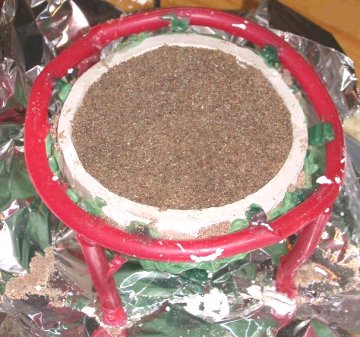
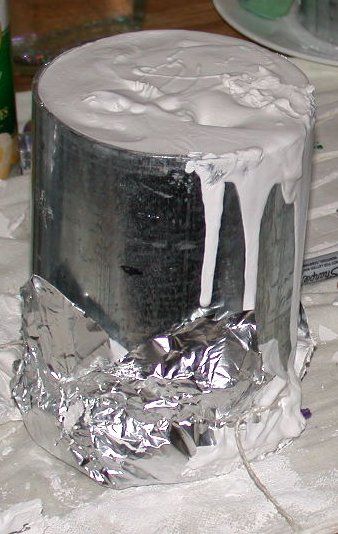 This
is the sleeve after filling with investment. It is jewelry investment
material.
Investment mixes up quickly, using less water than plaster.. When heated
to high heat (1350F), it becomes
porous and water soluble. It is still relatively weak and will leak
out the side if not supported. Usually stainless steel is used, but I
find it
too expensive in this size. Steel conduit is used instead; rust has to
be cleaned off between uses.
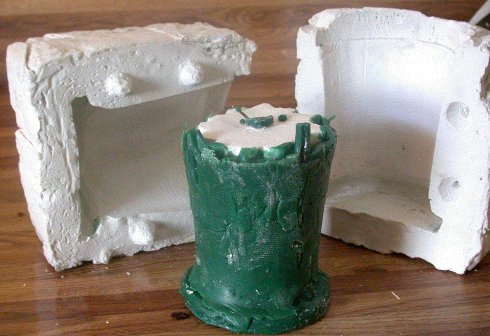
This
is the sleeve after filling with investment. It is jewelry investment
material.
Investment mixes up quickly, using less water than plaster.. When heated
to high heat (1350F), it becomes
porous and water soluble. It is still relatively weak and will leak
out the side if not supported. Usually stainless steel is used, but I
find it
too expensive in this size. Steel conduit is used instead; rust has to
be cleaned off between uses. 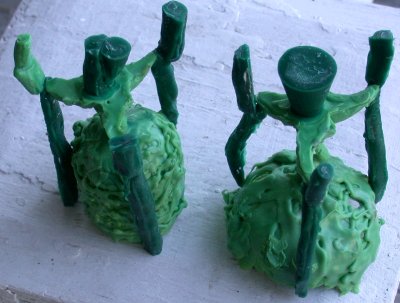
 3
3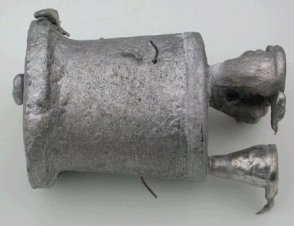
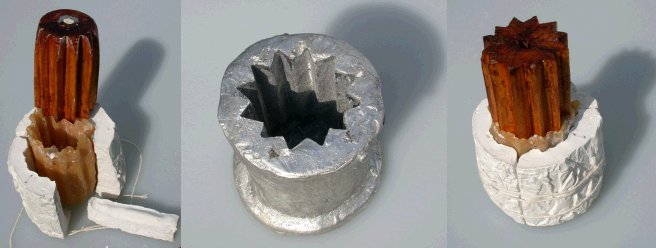
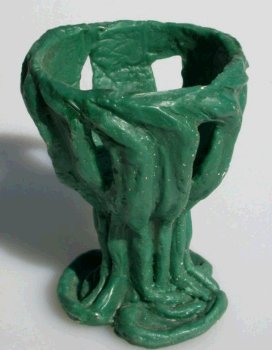

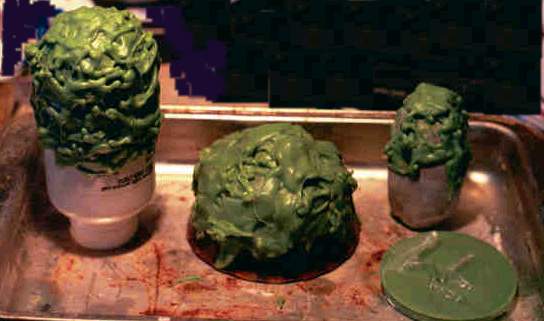
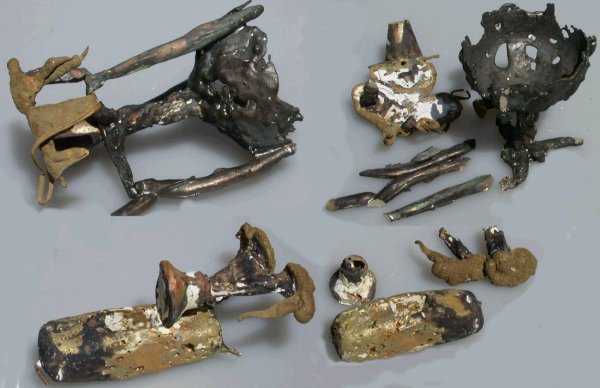
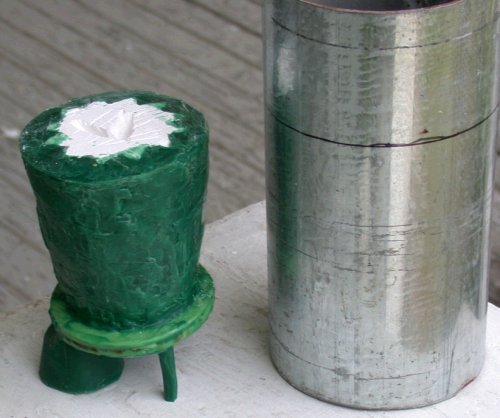
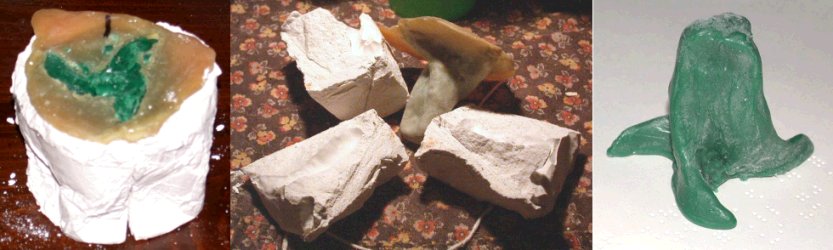
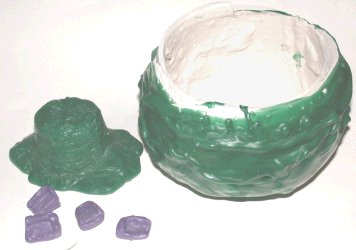
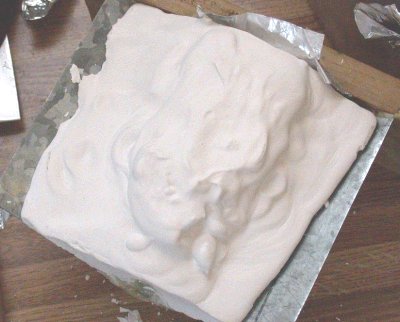
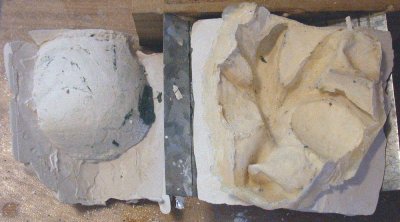
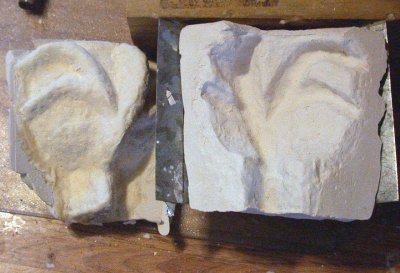
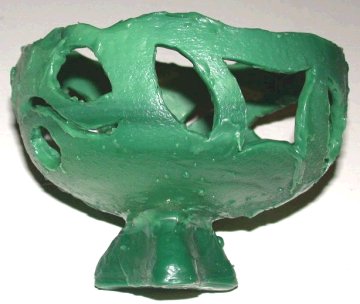
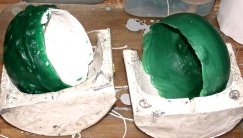 I finished off the old year working with wax for lost wax casting.
I have been making slip cast clay forms to put wax on and reduce use of
investment cores. It occurred to me that I might be able to use the
same plaster mold to make a wax shell for greater creativity when working
the wax not backed by the core. So, having made another clay core
after dropping and breaking a previous one, after dipping the clay core in
wax, I wet down the plaster mold and poured wax inside and turned the mold
to uniformly coat the inside and came up with a lovely wax shell. Clay form
coated with wax on left, wax shell on right, sitting on halves of mold.
2007-01-01
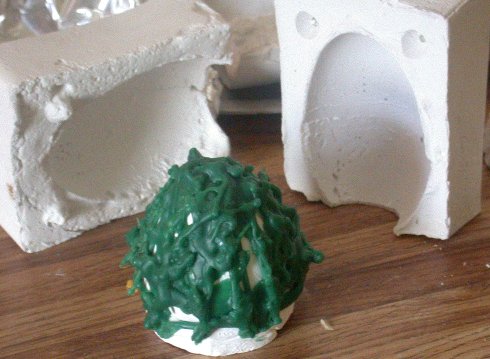
I finished off the old year working with wax for lost wax casting.
I have been making slip cast clay forms to put wax on and reduce use of
investment cores. It occurred to me that I might be able to use the
same plaster mold to make a wax shell for greater creativity when working
the wax not backed by the core. So, having made another clay core
after dropping and breaking a previous one, after dipping the clay core in
wax, I wet down the plaster mold and poured wax inside and turned the mold
to uniformly coat the inside and came up with a lovely wax shell. Clay form
coated with wax on left, wax shell on right, sitting on halves of mold.
2007-01-01

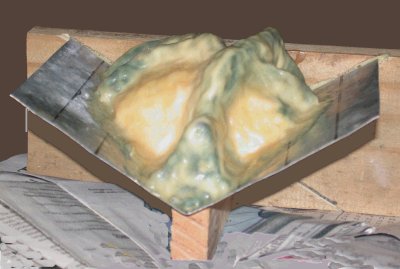
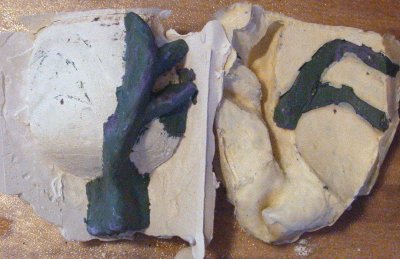
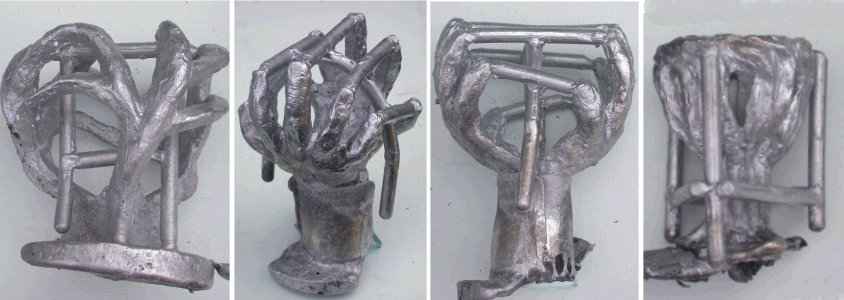
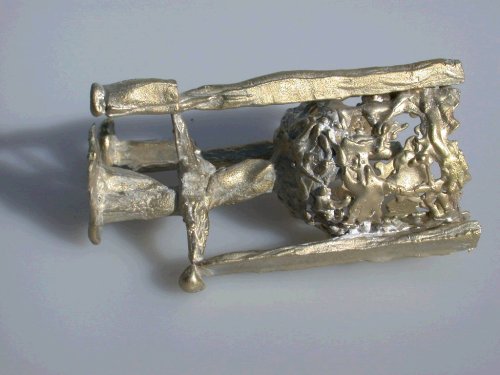
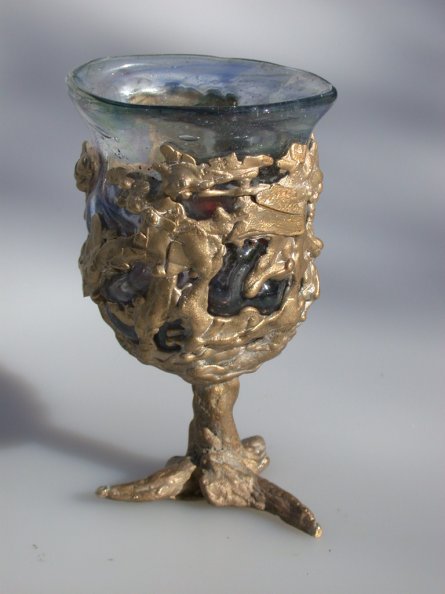
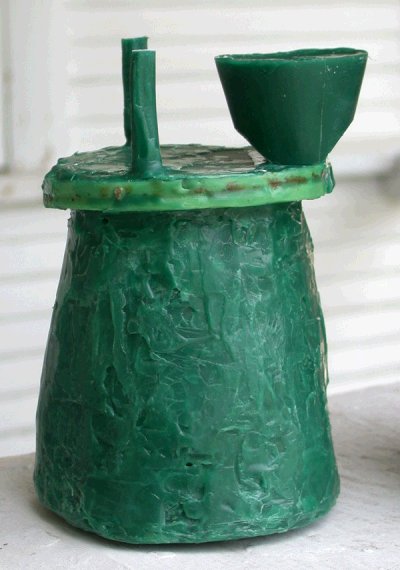
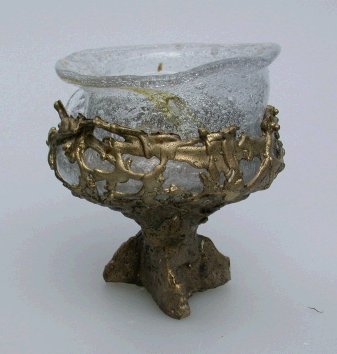
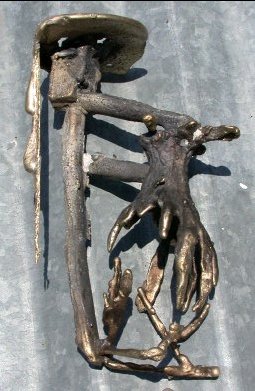
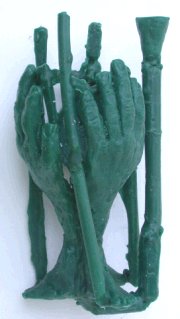
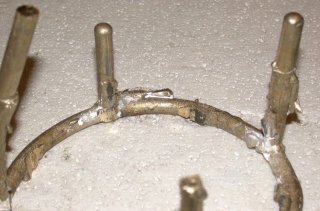 This
is the brass version of the pink venting/spruing shown
This
is the brass version of the pink venting/spruing shown